
2020 UPDATE.
(Scroll down further in the post to see the art lesson ideas.)
Since posting this lesson, I took a history of photography course. I feel a few changes and addendums are needed. It’s still a great lesson – but there’s more to it than an activity and some peripheral artists. There’s science here!
The cyanotype’s place in photographic history and botanical prints is worth learning about.
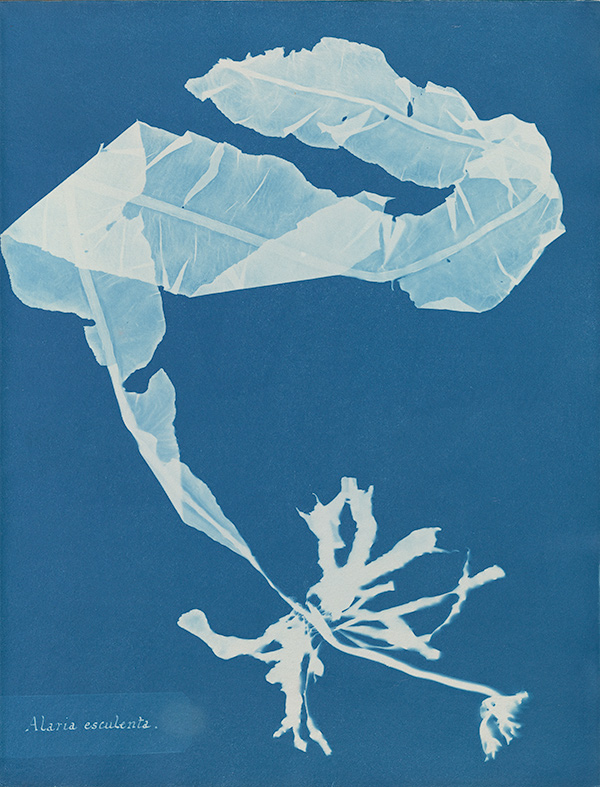
According to the Natural History Museum, the method for creating cyanotypes was developed by Sir John Herschel in 1842. The cyanotype process uses light-sensitive iron salts produced by brushing solutions of ferric ammonium citrate and potassium ferricyanide, also known as Prussian blue, onto paper, which is then dried in the dark.
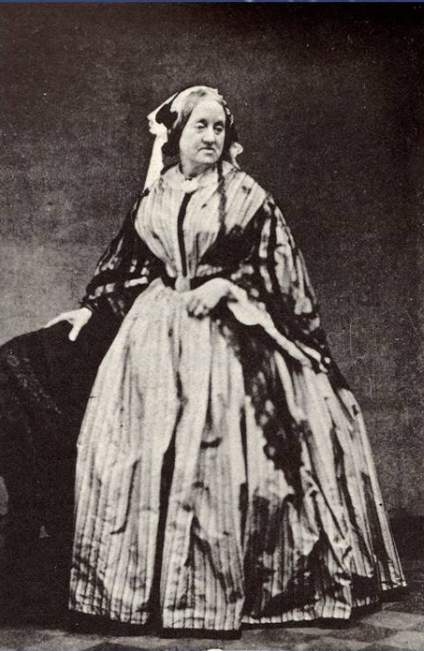
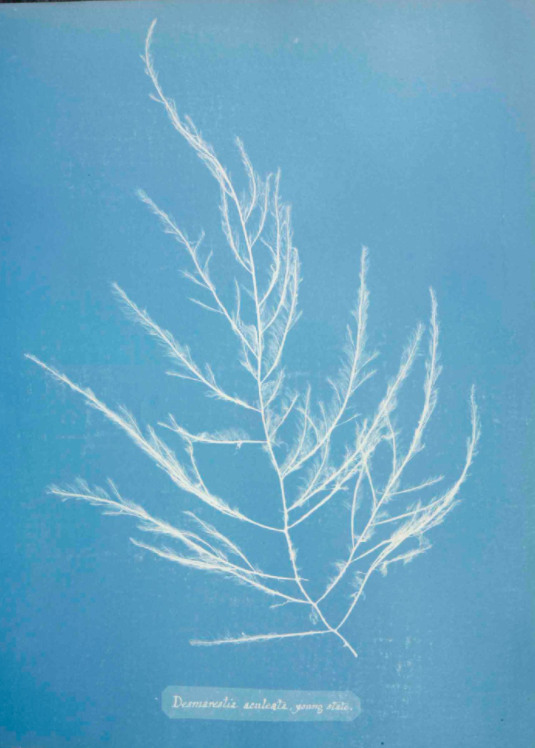
Anna Atkins was the first person to illustrate a book with photographic images. Her nineteenth-century cyanotypes used light exposure and a simple chemical process to create impressively detailed blueprints of botanical specimens. Woman, only child, mother, and scientist, Anna Atkins has progressed in the public imagination from an “Anonymous Amateur” to a proper pioneer of photography.
Before the invention of photography, scientists relied on detailed descriptions and artistic illustrations or engravings to record the form and color of botanical specimens. Anna’s self-published her detailed and meticulous botanical images using the cyanotype photographic process in her 1843 book, Photographs of British Algae: Cyanotype Impressions. With a limited number of copies, it was the first book ever to be printed and illustrated by photography.
There are thought to be only 20 known copies of Anna’s book, 15 of which are substantially complete. She made every print herself. No one book is the same because each has its own set of original prints.
You can view images from the book held in the Natural History Museum’s Library and Archive’s Special Collections.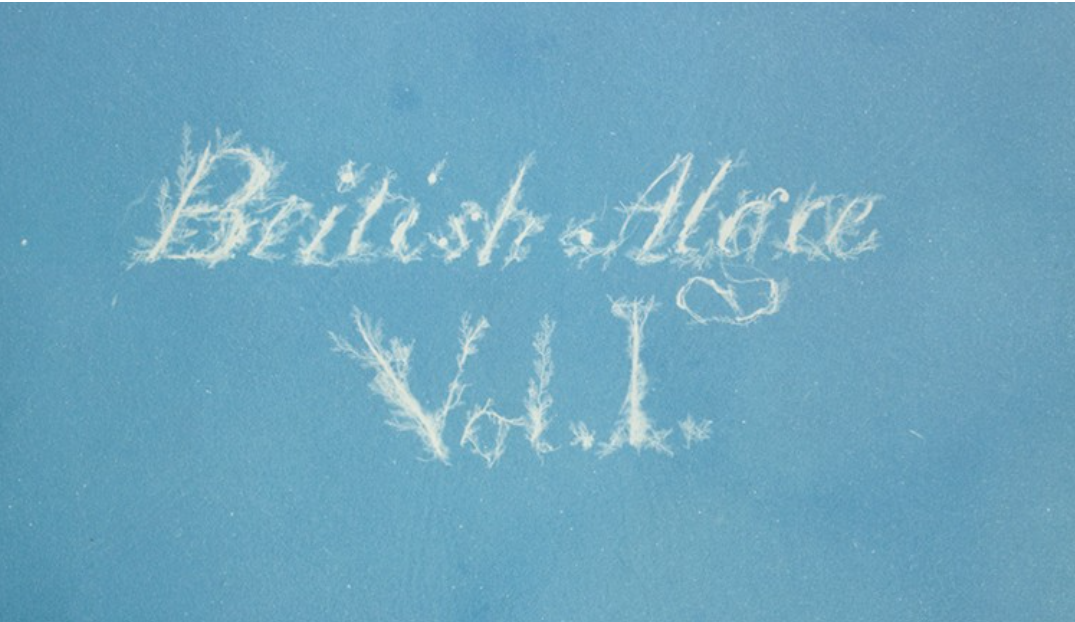
Editorial writer Maika Pollack wrote about Anna in The Woman Who Made the World’s First Photobook: Why Anna Atkins deserves her place in the pantheon of great photographers. Apeture Blog, January 2019
TIDBITS FROM THE ORIGINAL 2012 POST__________________
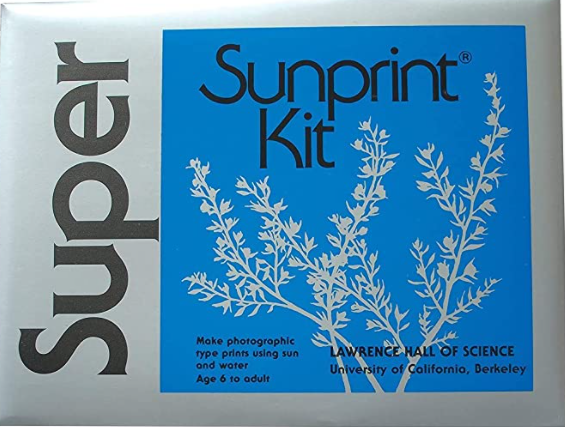
Create nature art prints – follow the directions on the package or google the process. Make one on your own first so you know how long it will take and you have a sample for the tactile learners to touch and visual learners to see. Have a flat tub of water handy to set the prints and paper towels to put between sheets. If your classroom doesn’t have a drying rack, find space on the floor or do this lesson at the end of the day so the kids can leave them overnight to dry and see the next day.
You can buy the paper on Amazon
This is a fun activity for the spring, the plants are plentiful and the weather is good for going outdoors to add physical activity for your tactile learners and go do-ers. Be careful not to take the paper out of the package until your students have gathered their objects. If you choose not to use the Sunprint paper, students can make “stamps” with the items they find, glue them to the paper or even draw what they see. Even the youngest of elementary students can take part in this simple printmaking lesson. Collect nature objects, such as a variety of leaves in many shapes, and bring back to the art room. Demonstrate how to brush with paint or ink and and print the leaf, to show the texture and details of each leaf. Have students compare the different kinds of leaves, talk about their characteristics and learn the differences between many types of trees. Clay impressions and crayon rubbings can also be created with leaves gathered in nature.
Discuss how ‘trees’ are represented by artists (perhaps make some trees too!) While focusing this art lesson on a single theme – ‘trees’ – show students the artwork of many artists, who all interpret the image of a tree differently, in their own styles. (Check out Vincent Van Gogh, Gustav Klimt’s “Tree of Life,” Mondrian’s early work, etc.) Later, elementary students can paint a tree in their own unique style.
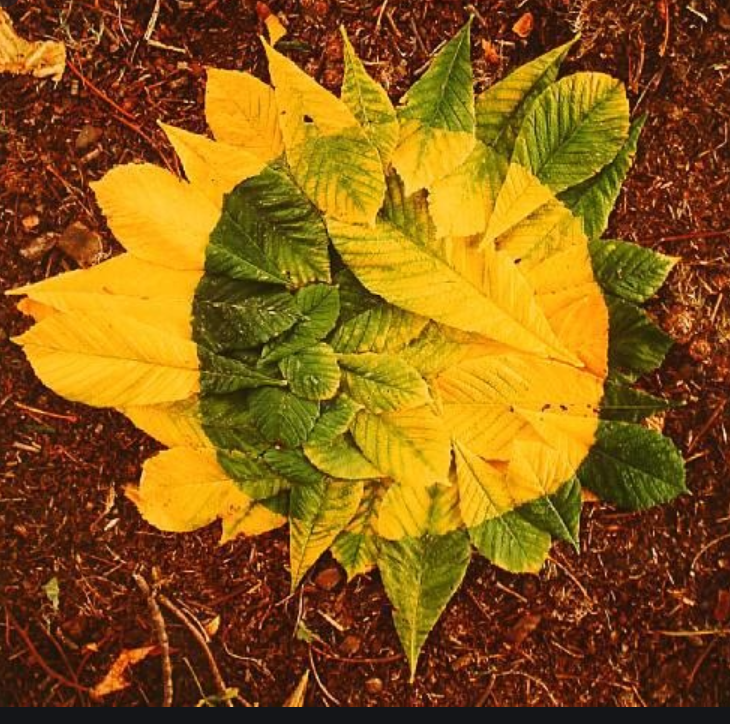
Create sculptures made from the earth Introduce elementary art classes to the work of environmental artist Andy Goldsworthy. Goldsworthy works outdoors, using the natural objects he finds around him, to create sculptures right on the ground – essentially making the ‘earth’ his ‘museum!’ Take students outside for this art lesson, and let them create rocks, sticks, leaves and other natural objects. They can create their sculptures outdoors, or being them back to the art room. Be sure to take pictures of their work to display and/or send home.
Explore landscape photography and artwork Introduce students to the work of environmental photographer Ansel Adams. Discuss the different characteristics of the earth that he portrayed in his photos – climates, terrains, etc. If your art room possesses a digital camera, take students around the school and let them take pictures of the immediate outdoors. Next, students can use these photos as inspiration for drawings or paintings. If you don’t have school cameras, let students come up with imaginary landscapes, or work from existing landscape photos.
that artist woman inspired this post
